


Have you ever found yourself scouring antique stores, garage sales, and your jewelry box for metal appearing, vintage-like embellishments for your crafting projects? I have countless times. I have also come up completely empty-handed on many of these occasions as well, not having found that perfect accent piece. Today I am going to show you how to make faux metal embellishments that you can alter, ink, and distress, to make exactly what you would like to see on your project.
What you will need:
Cardstock (I prefer to use a neutral white color, so that if I choose to tear or sand – a bright color does not peek through.)
Stamps of your choice (I used one small frame, and oval tag, and a journaling spot)
Embossing ink pad (I used Big&Bossy by Ranger)
Embossing powder
Heat Gun
Distress Inks (I used Tim Holtz’s Vintage Photo, and Black Soot by Ranger)
Tim Holtz Alcohol Ink – Silver

1. Gather your pieces of cardstock. I never know how many embellishments I will be in the mood to make, so I gather various sizes and shapes.

2. Select your stamps, ink them with the embossing ink pad and stamp onto your cardstock. Then coat them well with embossing powder. I chose to use black for mine so that I could really see what I was working with.
3. Tap off the excess powder and then heat set with your heat gun. Let sit for a minute or two.
4. Add a few droplets of silver alcohol ink to your alcohol ink pads. (I had run out, so a cosmetic sponge worked well in its place.) Rub gently over the image, covering the entire stamped image so that no part of it remains black.

5. Cut your images out.
6. It is time to grunge them up and make them appear vintage-like. I used Vintage Photo Distress Ink here, and I tend to use my fingers for this kind of application. You can certainly use a sponge if you would like, I just prefer the control I have when it comes to my own fingertip! (And yes, I walk around with distressed hands all day long… I am almost permanently inked at this point.)

7. Around the edges of the embellishments, smear two shades of distress ink. Start with your lighter color first, and then add the darker color to the very outside edge.

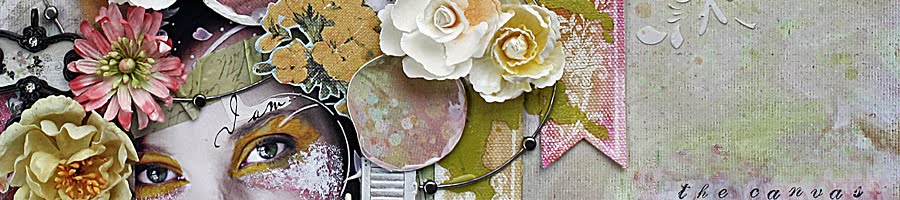
8. Let dry. This will only take a moment, and then you can attach these to your pages. Here are the full size embellishments that I made, maybe you will catch them on a layout or two in the next few weeks!

I hope you enjoyed this simple technique!
xx Heidi


No comments:
Post a Comment